


How to Set Up a FireNet Browser Profile
The biggest issue users face when accessing FireNet is using a browser already tied to an agency account. Both named accounts AND guest members are best served by setting up an additional Chrome or Edge profile to work within the collaborative FireNet environment. This includes pasting any SharePoint links shared externally with the public.
In Chrome:
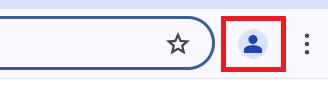
Step 1
To access FireNet Applications, open your Chrome browser by selecting the Chrome icon from your desktop, task bar, or by searching Windows. On the top right-hand corner of the Chrome browser, select the person icon.
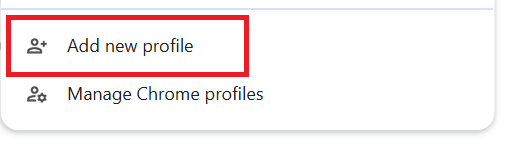
Step 2
Once the dropdown expands, select 'Add new profile' if you don't already have a FireNet profile on your Chrome browser.
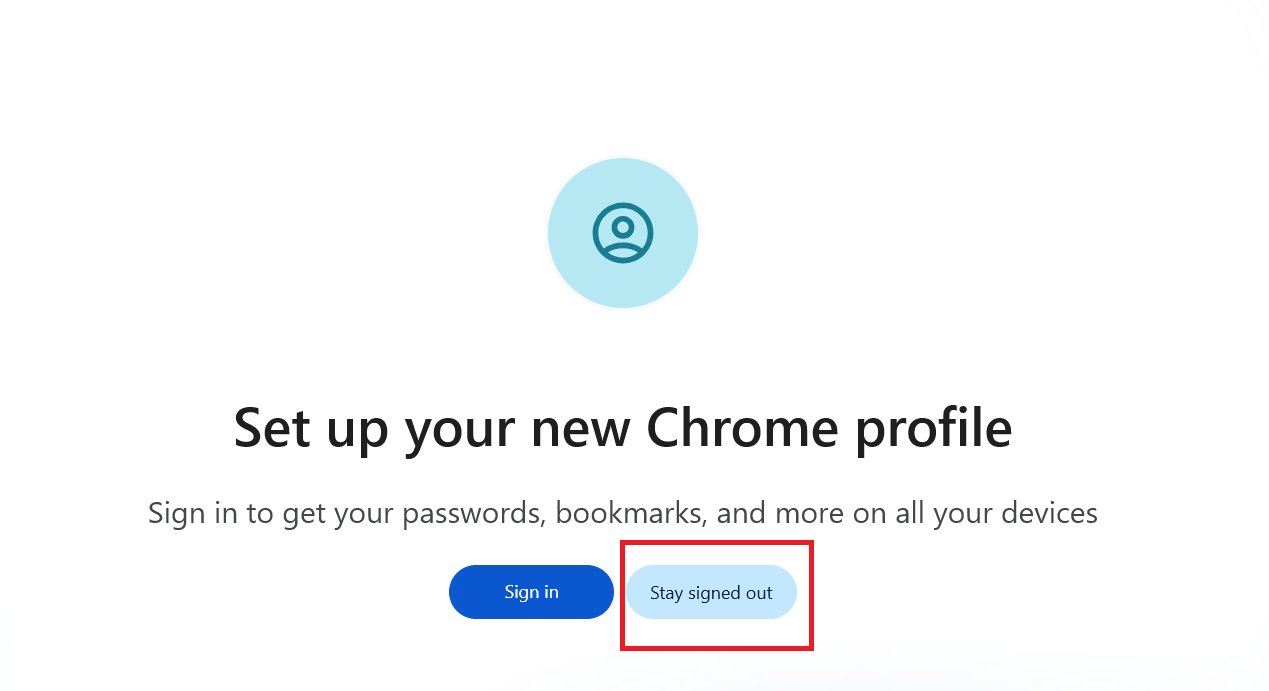
Step 3
You should see a pop-up on your screen with instructions to set up your new Chrome profile (note: colors may be different). To add a FireNet profile to Chrome, select 'Stay signed out.' Do not click the 'Sign in' button.
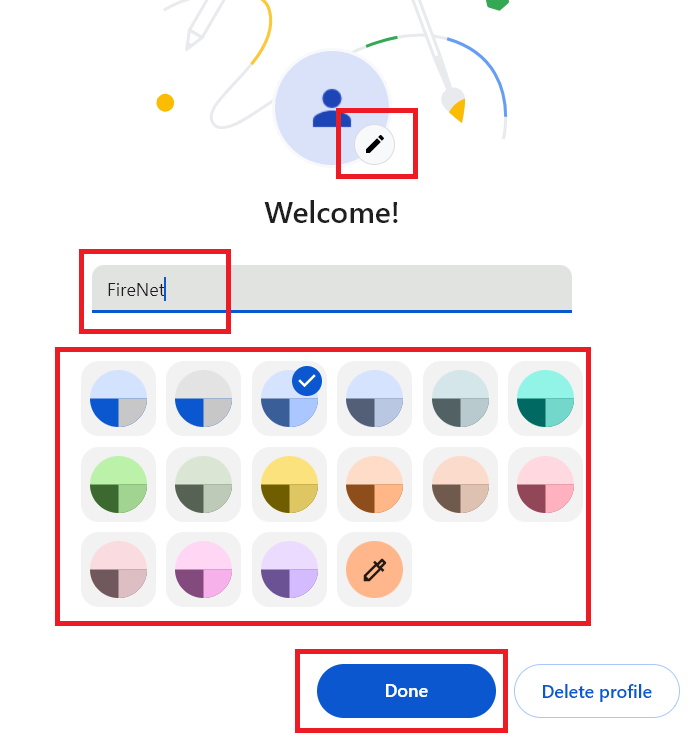
Step 4
Set up customizations to make it easier to identify when accessing different profiles.
• Select an avatar/image to represent your profile
• Customize your Chrome Profile by typing in a name for your user profile (example: FireNet)
• Choose a theme color if desired
• Select 'Done'
• Success! You now have an easily accessible FireNet Chrome browser on your task bar!
Step 5
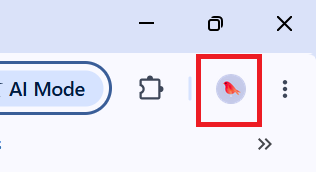
You should now see the avatar/picture you selected in the upper right-hand corner of the browser. If it's there, you're using your FireNet profile. If not, select the person icon and choose your FireNet profile any time you're loading FireNet links or Office applications.

Step 6
Go to www.office.com and sign in using your username (firstname_lastname@firenet.gov) if you have a named FireNet account, or the email address you use to access FireNet as a guest member.
In Edge:
Step 1
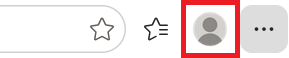
To access FireNet Applications, open your Edge browser by selecting the Edge icon from your desktop, task bar, or by searching Windows. On the top right-hand corner of the Edge browser, select the person/profile icon.

Step 2
Once the dropdown expands, select 'Set up a new profile' and then 'Work or school' if you don't already have a FireNet profile on your Edge browser.
Step 3
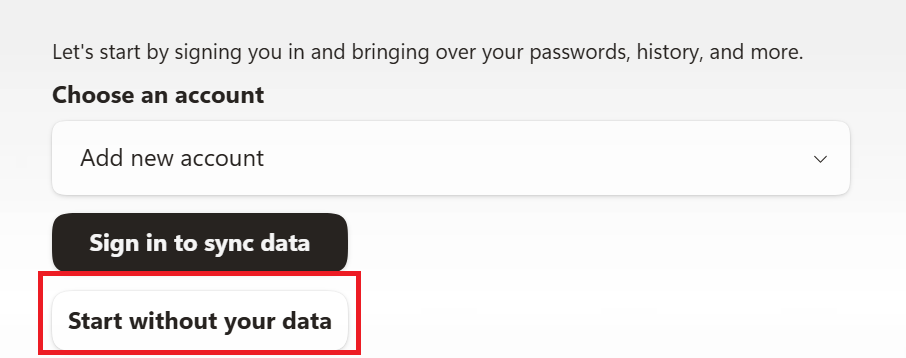
Select 'Start Without Your Data.' Do not sign in with a work or agency account.
Step 4
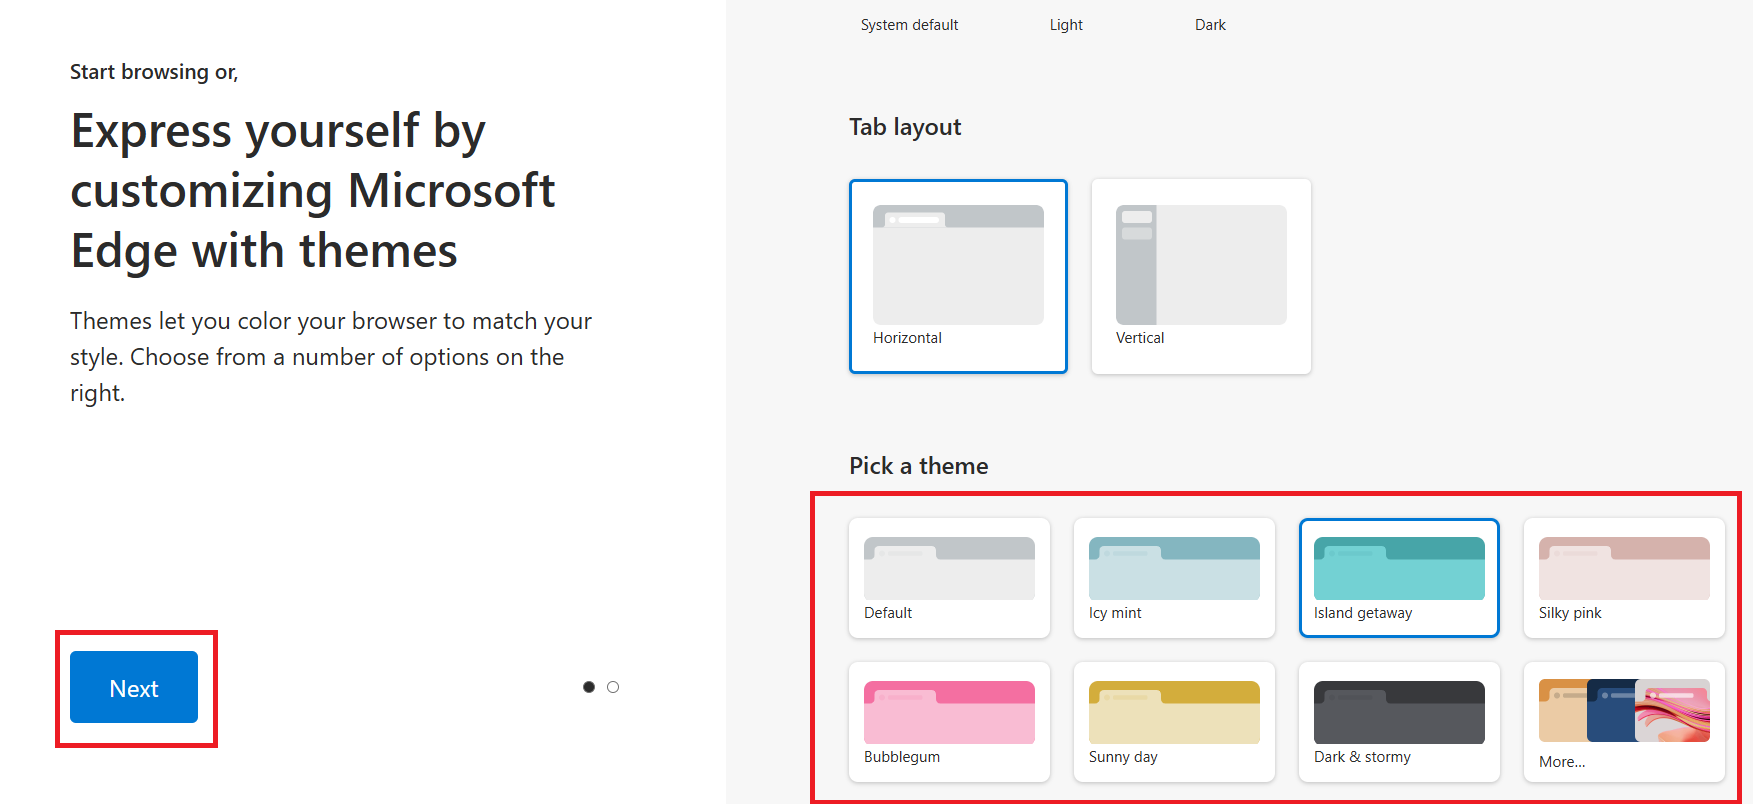
Select a theme color to make it easier to identify when accessing different profiles. Then select 'Next.' On the next page select 'Finish.'
Step 5
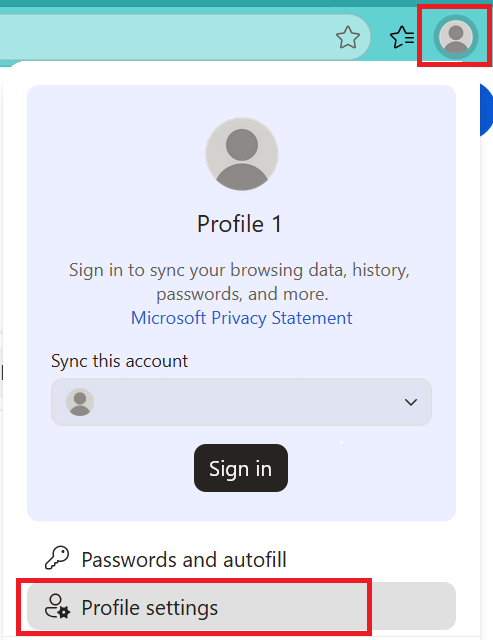
Your new Edge profile has been created! Now update it to give it a name! Select the profile icon again in the top right-hand corner of the browser and choose 'Profile settings' to continue customizing your FireNet profile.
Step 6
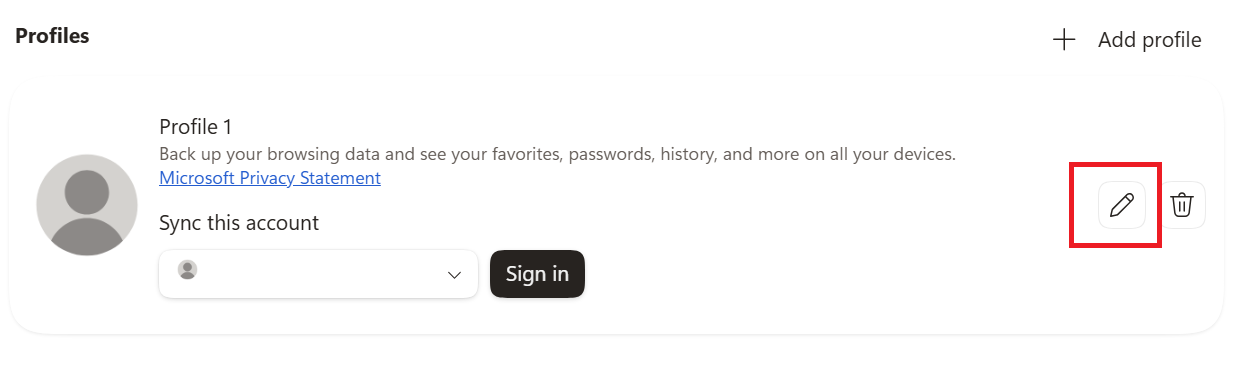
Select the edit (pencil) icon next to the profile you just created.
Step 7
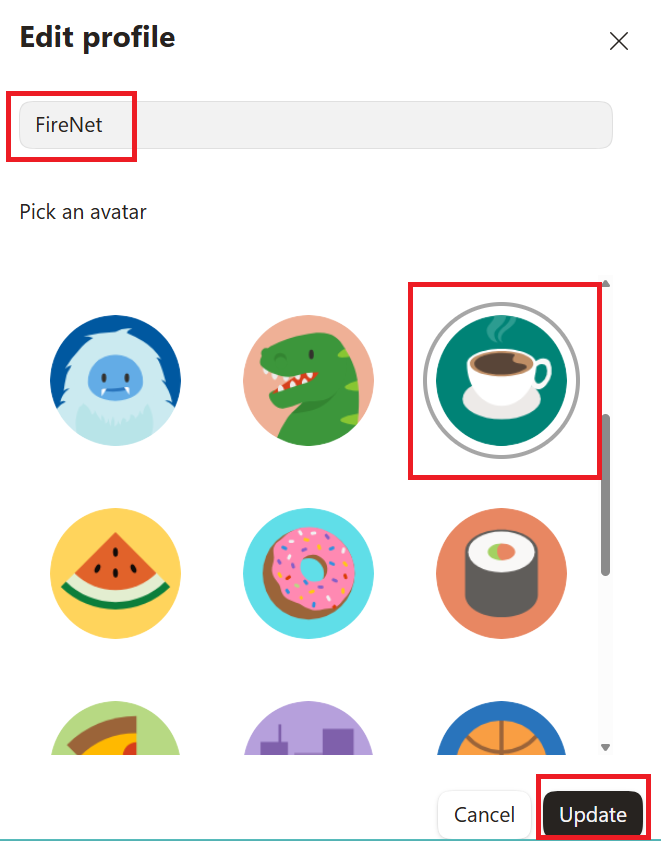
Enter a name for your new profile (such as 'FireNet') at the top, select an avatar and then select 'Update' to save your profile with the new name and picture. Success! You now have an easily accessible FireNet Edge browser on your task bar!
Step 8
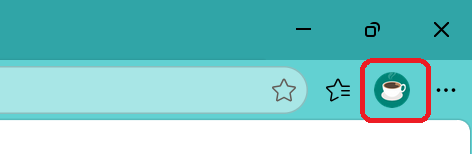
You should now see the avatar/picture you selected in the upper right-hand corner of the browser. If it's there, you're using your FireNet profile. If not, select the person icon and choose your FireNet profile any time you're loading FireNet links or Office applications.
Step 9
Go to www.office.com and sign in using your username (firstname_lastname@firenet.gov) if you have a named FireNet account, or the email address you use to access FireNet as a guest member.